Before the subway tile backsplash was born and before the counters were adopted, I fostered these cabinets...
(If you missed it, you might want to catch up on my previous post here)
Ok, they weren't THAT bad (I'm trying so hard not to complain too much!) The previous owners had painted them and replaced the hardware to improve the look of the dark, 70's cabinets, but as you took a closer look, they weren't so improved.
This project was a true labor of love.
Three months of a dust filled kitchen, three months of paint covered hands (and clothes, hair, face), three months of brushing snow off my truck everyday because it had to be parked in the driveway, and three months of freezing my butt off in the garage while our horrible ND winters raged right outside the door.
I literally dreamed this sequence:
Sand (low grit)
Sand (high grit)
Prime (2-3x)
Paint (2-3x)
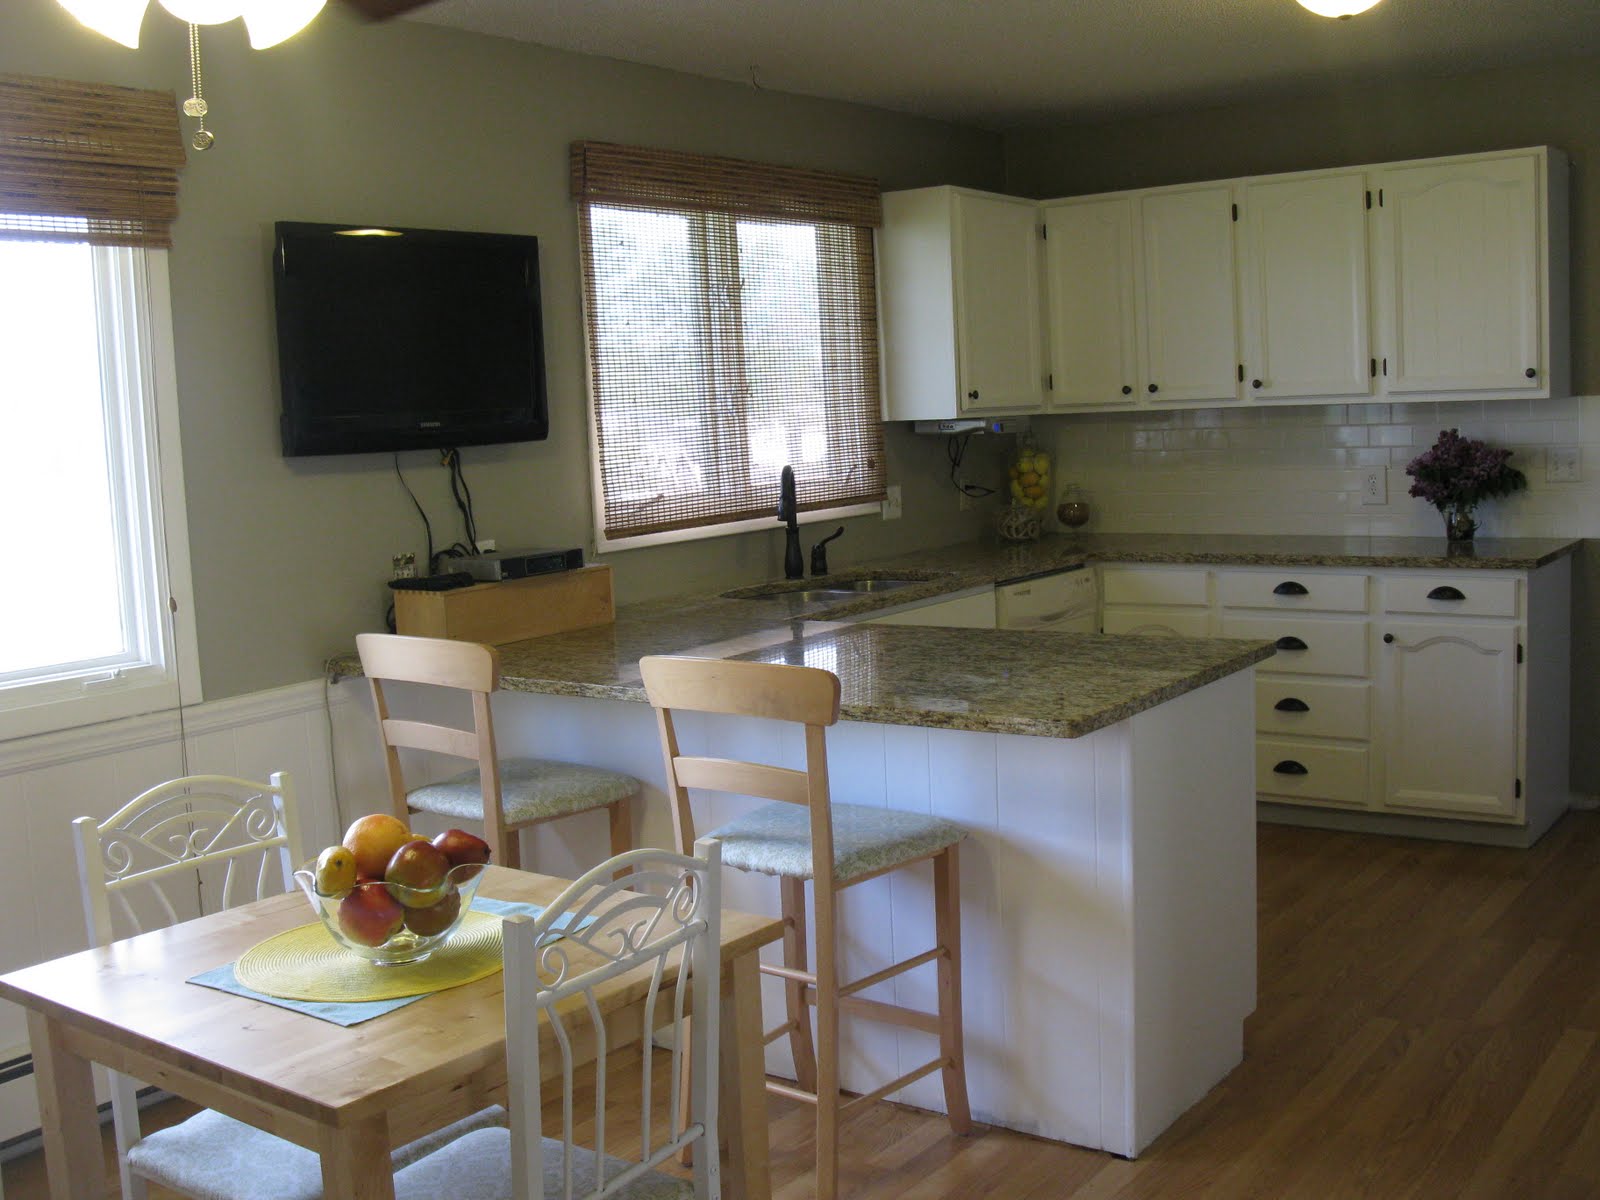
Sooo...remember BEFORE??
We removed the soffit and cabints over the snack bar, painted, redid the cabinets, installed the backsplash, and replaced the counters to get... the AFTER.
Removing the cabinets above the snack counter was the best idea ever. If you are thinking about it but are holding back because you are worried that you will lose precious storage space- get rid of crap! Not only does it open the space up, but it makes it look bigger and allows for much better entertaining. And where on earth would you put a TV if we wouldn't have taken the cabinets out?!
It's so wonderful that my cabinets are now crisp, clean, and paint gobs are no longer visible.
We still have a bit to go... install moulding to the top of the cabinets, replace the windows, install backsplash on the remaining wall, pick out a light, etc.
Thank goodness the majority of the work is over. For people who are interested in redoing their cabinets as well, (which is totally worth it!) I will post a step by step tutorial with tips that I found helpful to finish this labor of love :)


